Automall Email Configuration
Setting up Gravity Forms and the Plugin for Automall accounts.
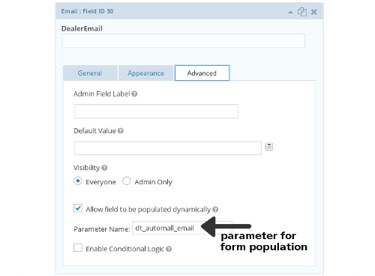
Create a hidden or admin view only field in the form for the VDP. Note: Using "Admin Only" gives you the ability to visually test the form by changing to "Everyone". Make sure and name this field something like "Auto Mall Email" so that you can find it easily in the next step.
Next: Go to the Notification settings for this email from. If you have named your email "Auto Mall Email" you can choose "Select a field" and choose that
from the dropdown menu.
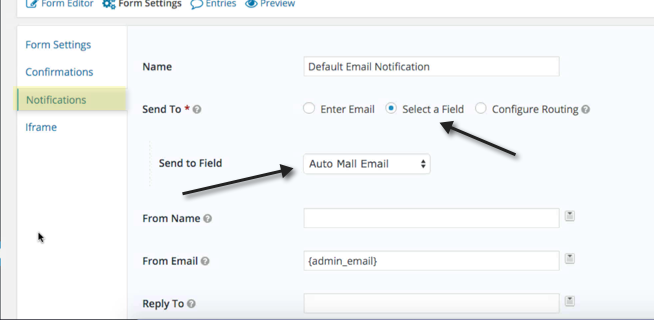
Next: Navigate to the plugin and select Auto Mall Email
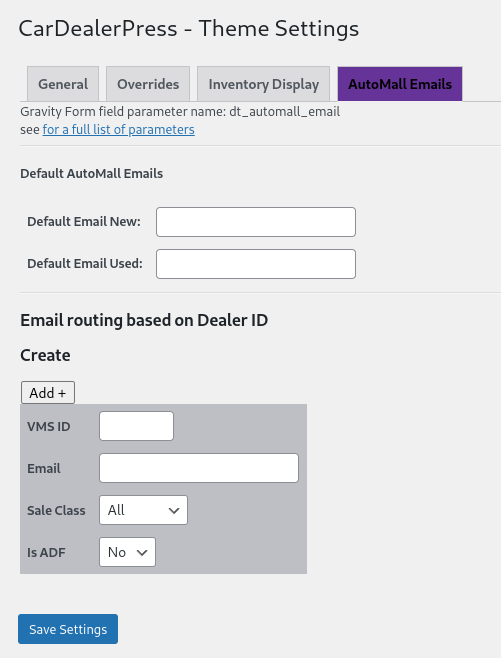
- Default Email New: Default for any form with the 'dt_automall_email' attribute.
- Default Email Used: Default for any form with the 'dt_automall_email' attribute.
For any custom email:
Add a new email.
- VMS ID: Id of the company you want to target.
- Email: email address you want it sent to.
- Sale Class: Options, All, New, Used, Certified. If you want to target a specific sale class.
- Is ADF: If the form should be sent in ADF or html.
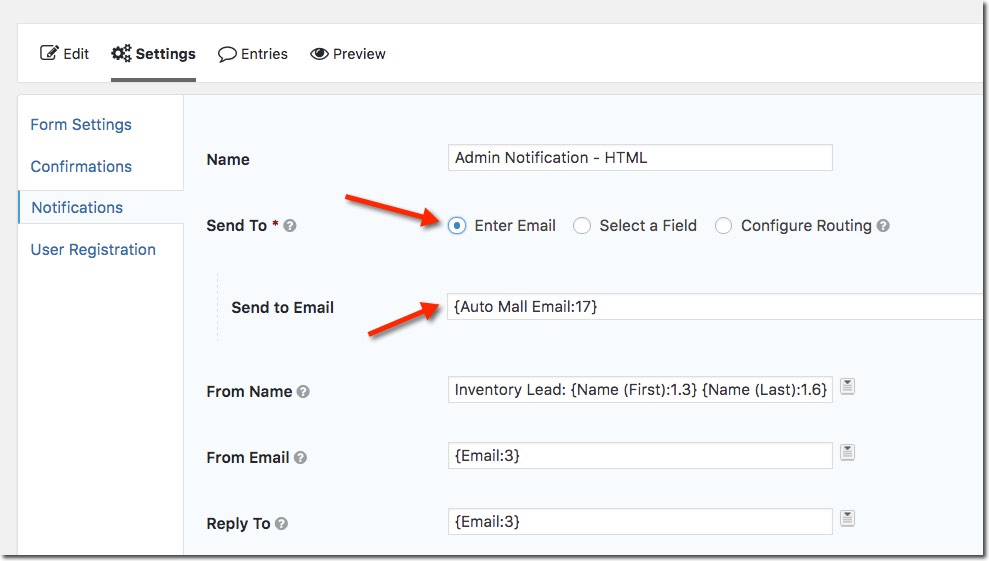
NOTE: IF YOU WANT TO HAVE MORE THAN ONE EMAIL ADDRESS USE A STANDARD TEXT FIELD AND ADD THE MERGE FIELD AS IN THIS SCREENSHOT. THIS WILL ALLOW YOU TO ADD MORE THAN ONE COMMA SEPARATED EMAIL IN THE CDP SETTINGS.
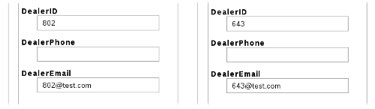
With your form field set to "Everyone" go to a Vehicle Detail Page for each respective dealer to confirm that the field is populating correctly.
NOTE: You will have to have set up the VDP form prior to implementing this tutorial.
!!!!!!!!!!!!!!!!!!!!!!!!!!!!!!!!!!!!!!!!!! BE SURE TO TEST !!!!!!!!!!!!!!!!!!!!!!!!!!!!!!!!!!!!!!!!!!